How to Install Iis on Windows 10 Step by Step
If you are planning to build a website or web application using ASP.NET , then you may want to install Internet Information Services(IIS) on your local machine for development and testing purpose. IIS was previously known as Internet Information Server. It is nothing but an extensive webserver developed by Microsoft Corporation. IIS is compatible with Windows NT family and plethora of other services like HTTP, HTTP/2, HTTPS, FTP, FTPS, SMTP and NNTP. Check out the article below to learn how to install IIS and setup a website on IIS:
Steps To Install and Setup a Website in IIS on Windows 10
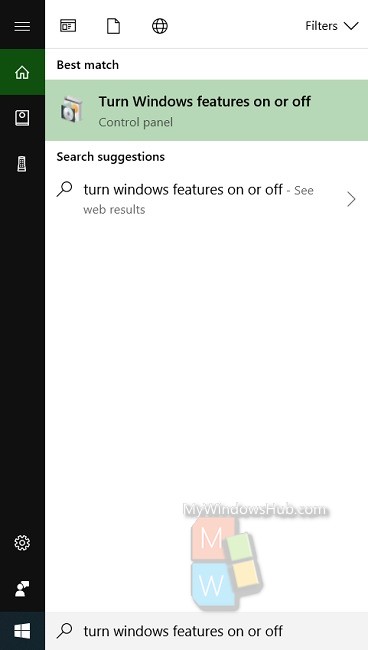
1. Open Cortana, and type Turn Windows Features On or Off. Select the settings from the search results.
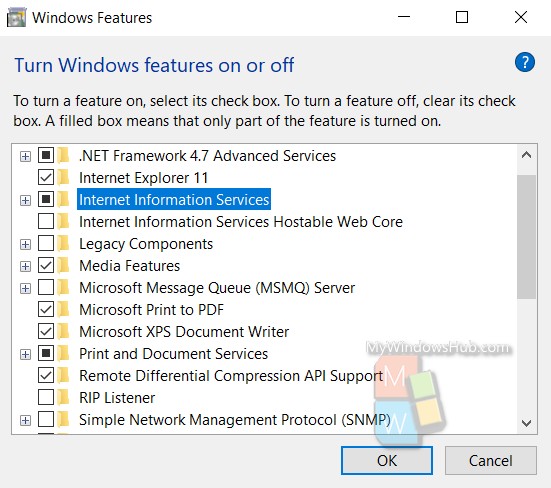
2. Now scroll down and find out Internet Information Services in the list. If it is not installed, then there will be an empty check box. Check the option. Next, click OK. Here, an important thing to note is that you have to keep in mind is that checking the main checkbox will not install all the sub files. For example, it will not install the FTP Server. To include that in your install option, click on the plus sign and expand the options. Check the individual sub files and then tap OK. Also, make sure that the Windows Process Activation Services is also checked. If not, then do it.
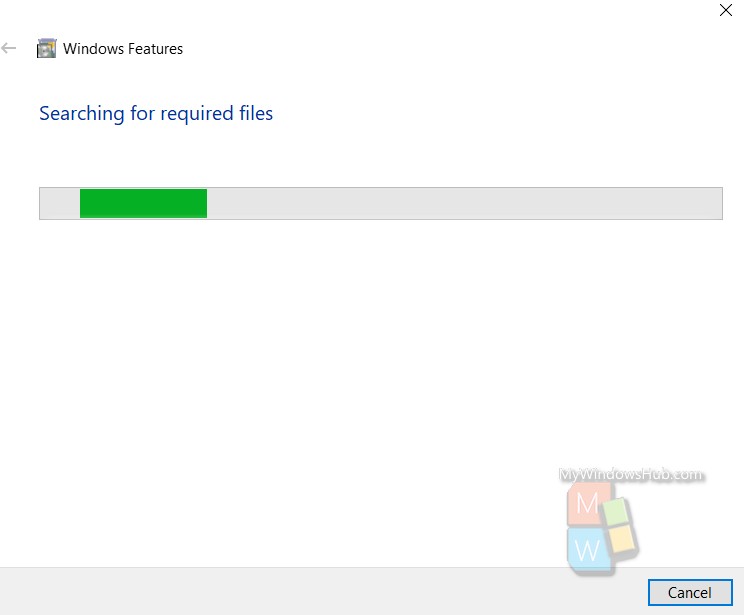
3. The Windows 10 device will then start searching for the required files on the computer.
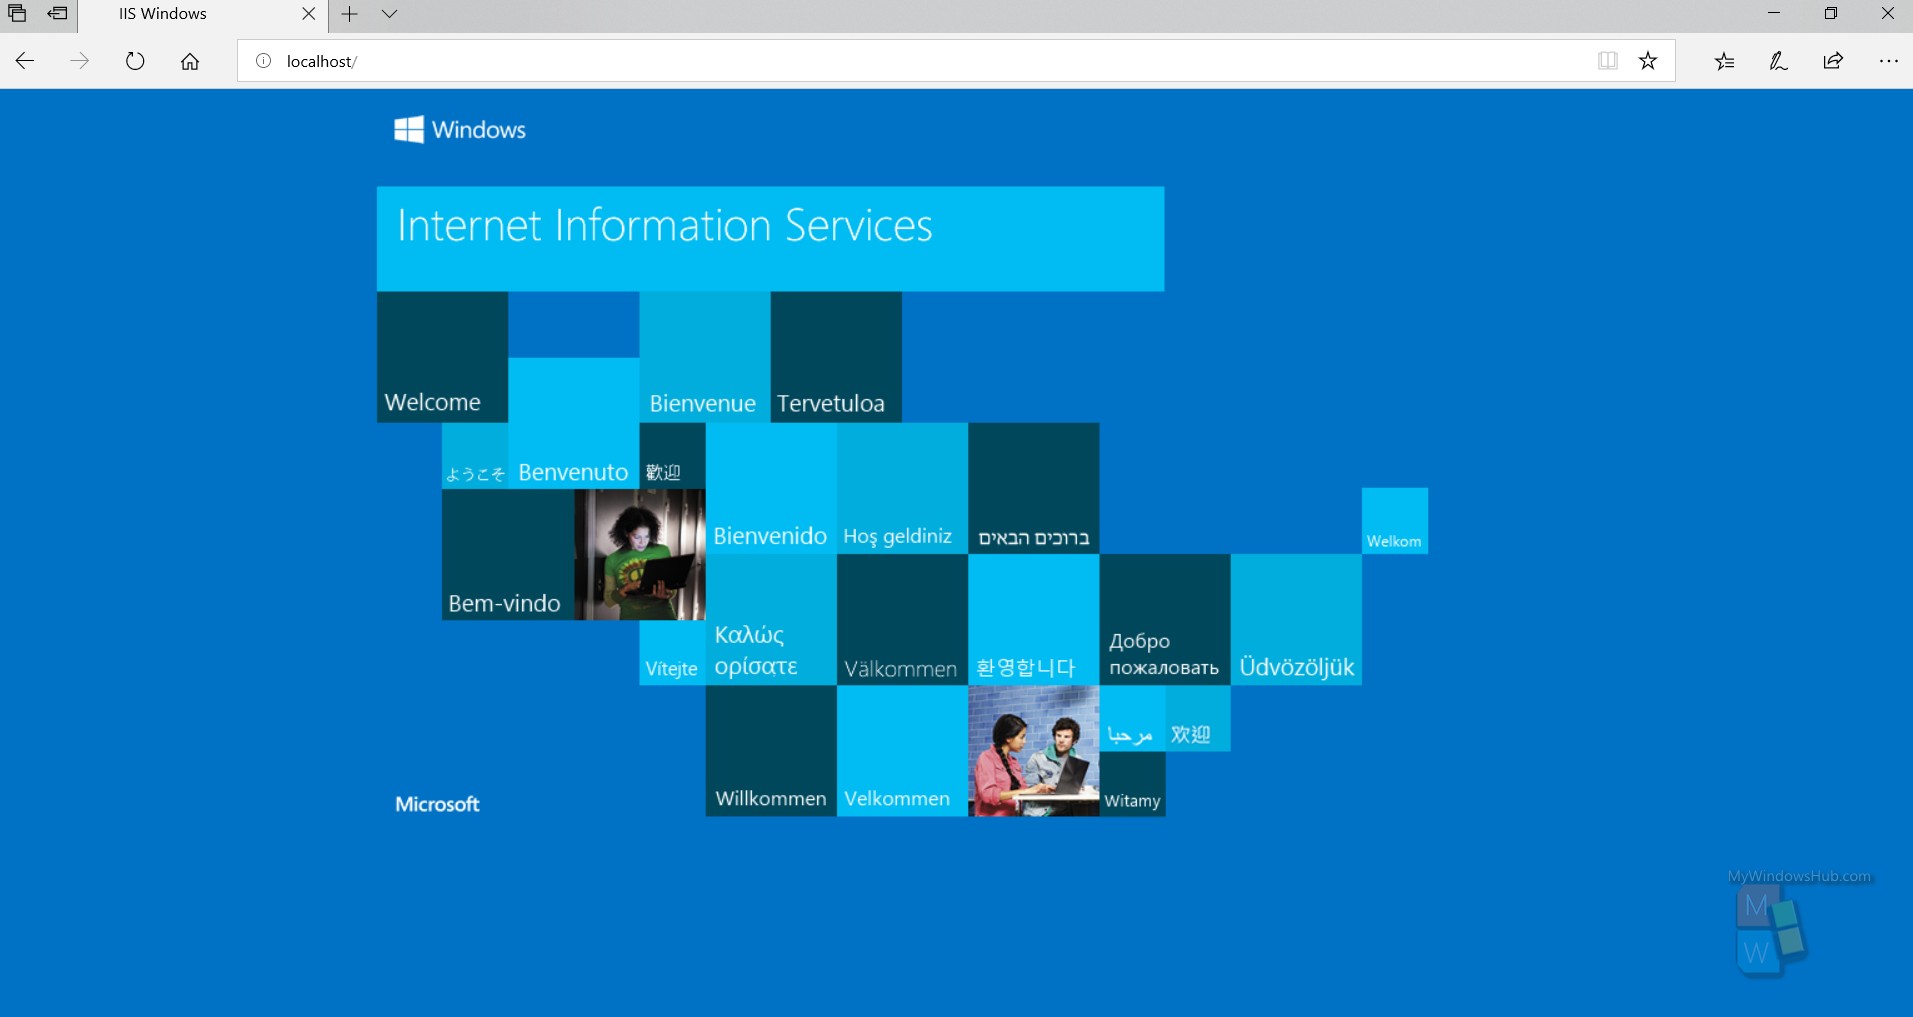
4. Once, you have finished installing and rebooted the computer. You can load the default website by going to your IE and typing in your web browser //localhost. This should open the IIS 10 default web page.
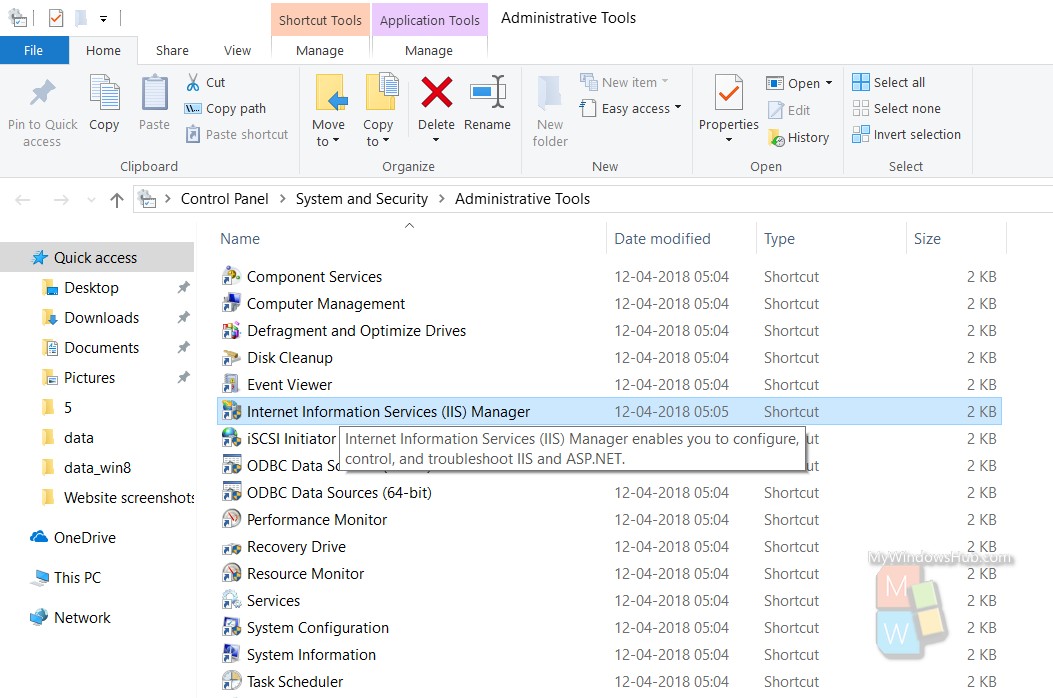
5. Next, open Cortana and type Administrative Tools. The Administrative Tools of Control Panel opens. Here you will see Internet Information Services (IIS) Manager.
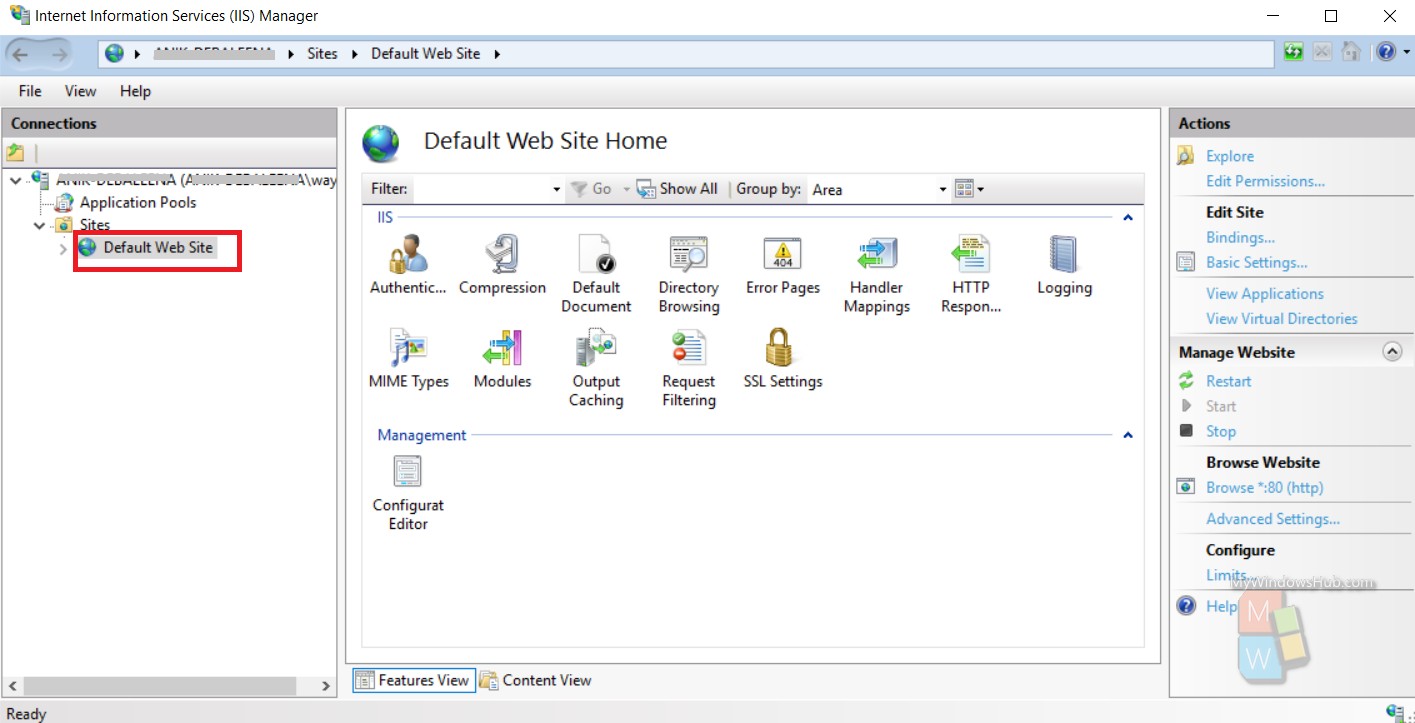
6. On the left hand side of the Administrative Tools panel, you can expand the server to see the list of sites. Expand and To start, you only have the Default Web Site, which is stored under C:\inetpub\wwwroot.
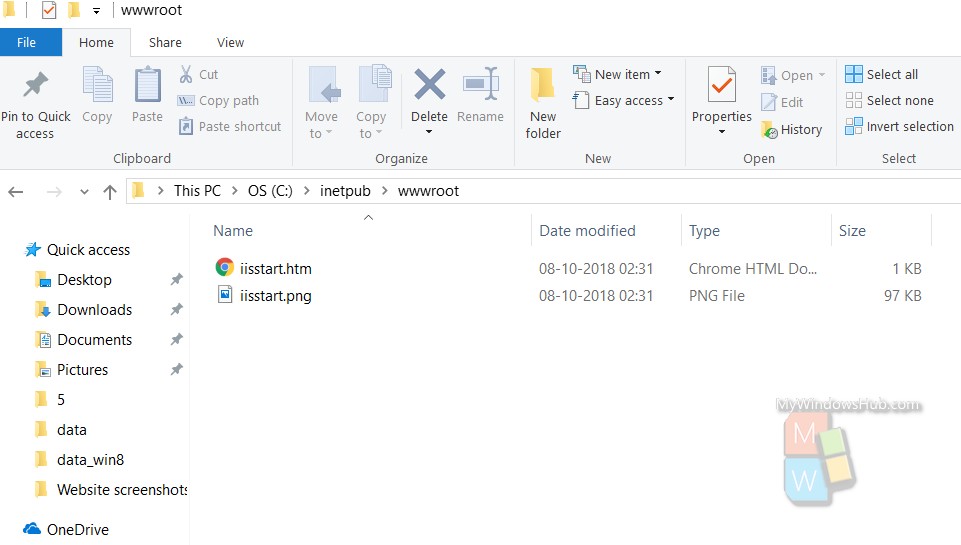
7. You can check it under the location in This PC, C:\inetpub\wwwroot , you will find the default web site.
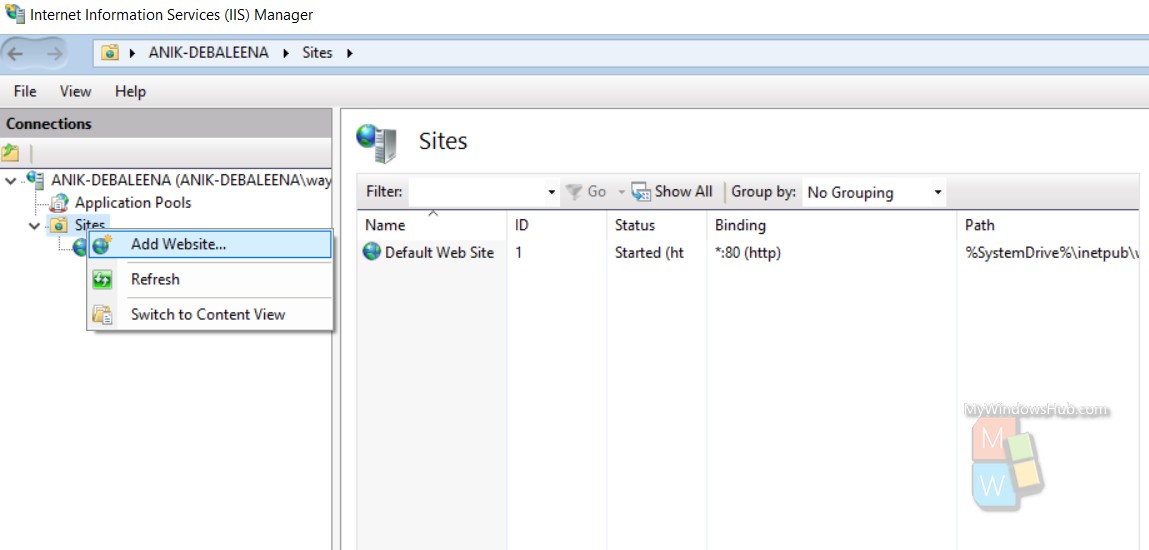
8. Now, if you want to setup a new website in Internet Information Services 10, right-click on Sites and choose Add Website.
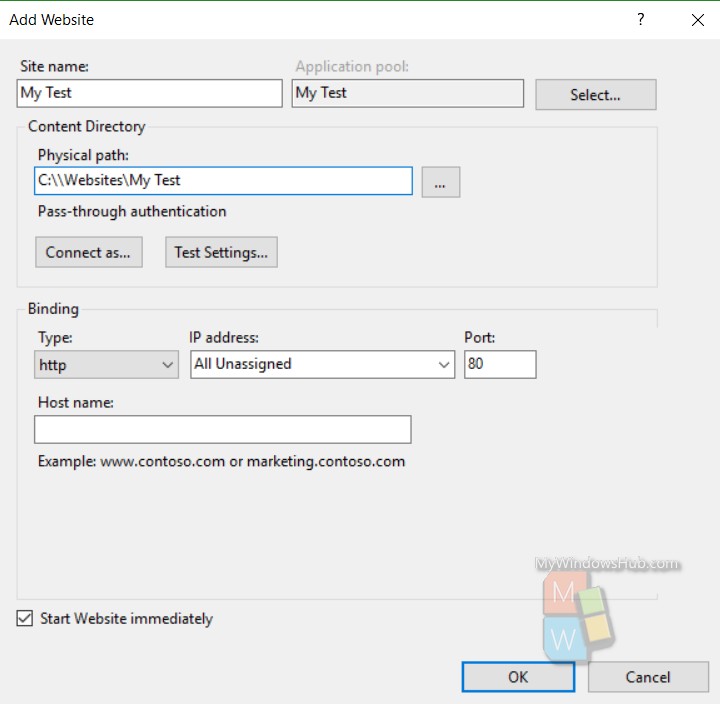
9. Next, create a name for your website and add the location of your PC where the web files are located.
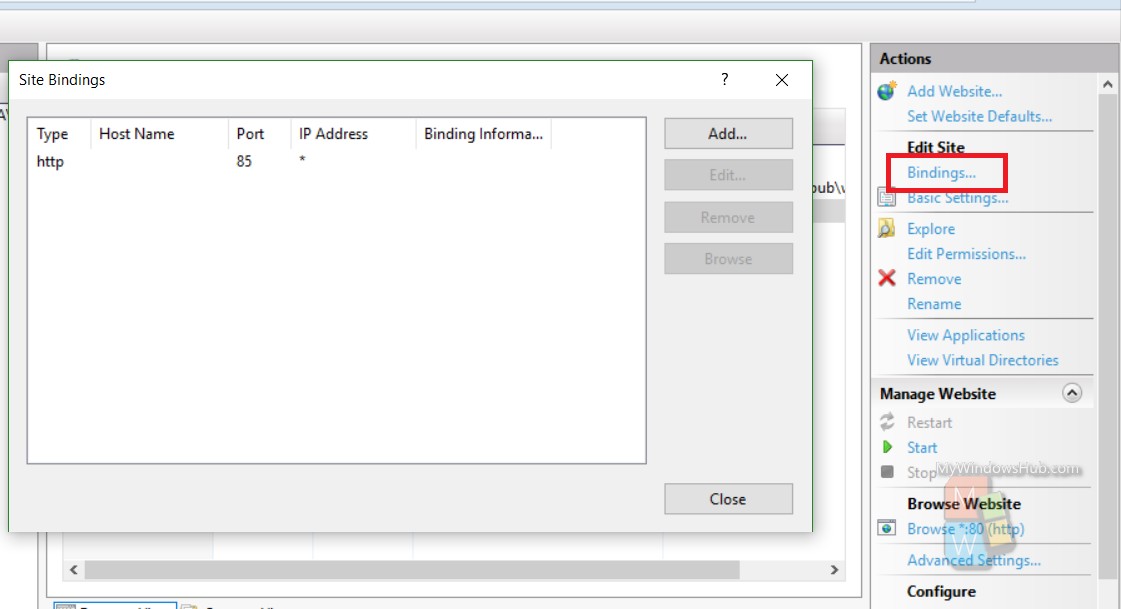
10. Select the website name under the Sites panel. Tap on Bindings on the right panel, under the Edit Site menu. Specify a host name if your computer has a static public IP address with DNS records for the domain name. The Domain name should point to that particular IP Address.
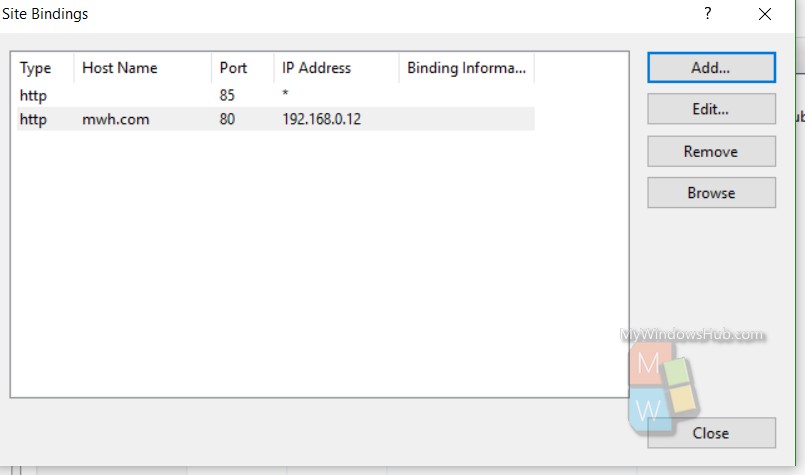
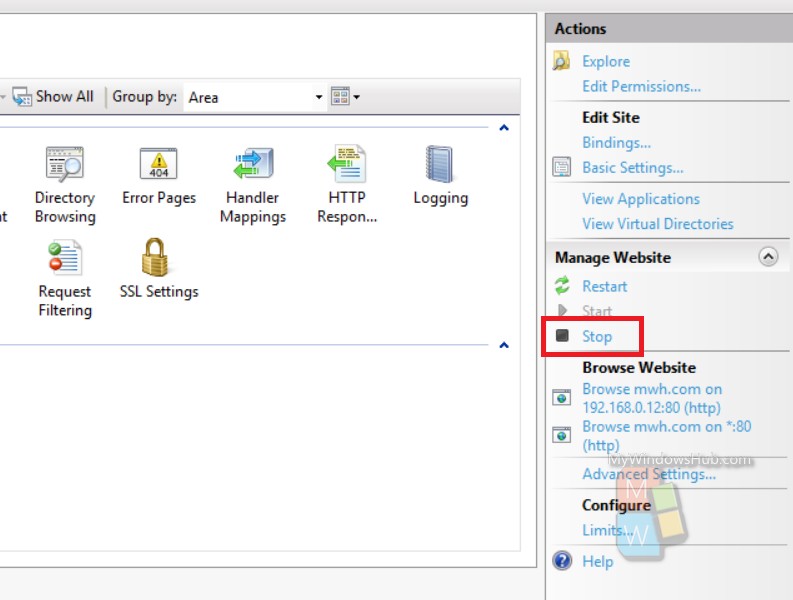
Click OK. You will get a warning that another site is also using the same settings and pointing to the same site. In the Right panel, you will find the Stop option under manage website section.
Now launch the test website. Now you can start developing and testing your own websites or web applications. Once the final version is ready to be deployed in live environment, you can search for good web hosting services for Windows to host your website or web application.
How to Install Iis on Windows 10 Step by Step
Source: https://mywindowshub.com/how-to-install-and-setup-a-website-in-iis-on-windows-10/